Home / Blog
Choosing steel entry doors in 2026 means weighing security, insulation, weather resistance, and design—not just comparing finishes. A door can look substantial in a showroom and still underperform if its frame, weatherstripping, or installation is weak. Small details matter. Check the door’s core, thermal break, jamb, hinges, and threshold as one system.
The 2024 Cost vs. Value report from Zonda and Remodeling reported a 188.1% national cost recoup for steel entry door replacement. That figure is an average, not a promised return; local labor, project scope, and resale conditions affect the result. The U.S. Department of Energy also notes that windows account for roughly 25–30% of residential heating and cooling energy use. That is not a door-specific estimate, but it highlights why the whole building envelope deserves attention.
Building scientist Joseph Lstiburek’s principle, “The perfect wall is one that does not get wet,” offers a useful lens for evaluating an entry system. Water management matters. Look for a properly flashed opening, durable seals, and clear installation instructions—not simply a high insulation rating. Then compare security features, glass options, finish warranties, and maintenance needs against your climate and daily use. A dark finish facing strong afternoon sun, for example, may need more care than a lighter one. There is no single best door for every home. This guide examines the evidence, trade-offs, and practical checks that help you choose steel entry doors with confidence—and spot claims that deserve a closer look.
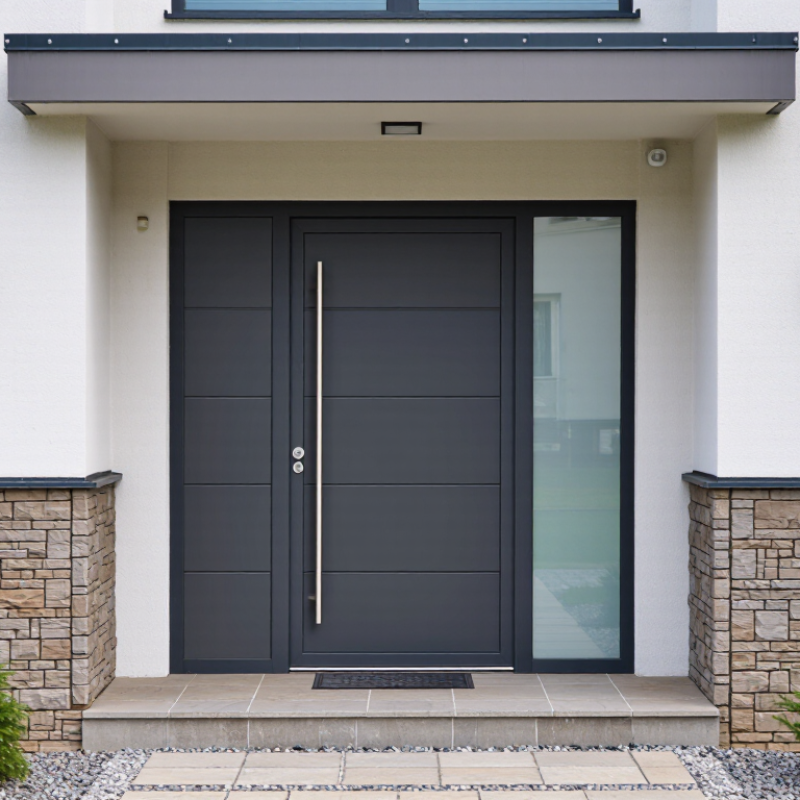
Choosing a steel entry door starts with the way your entryway works each day. Measure the opening, including the frame, and note nearby walls, steps, and trim. A door that swings into a narrow hall can feel awkward, even if it looks right in a showroom. Consider rain, direct sun, and temperature changes, too. These conditions affect the finish and the comfort of the space.
Set a realistic budget for more than the door slab. Include the frame, hardware, weatherstripping, delivery, and professional installation if needed. Ask for an itemized estimate so you can compare similar configurations. A thicker security lock may be worthwhile, but a poorly fitted frame can still let in drafts. It adds up. Keep a small reserve for repairs to the existing opening; hidden rot or uneven flooring can change the final cost.
Decide which features matter most to your household. A small glass panel can brighten a dim foyer, while a solid face offers more privacy. Check the door’s insulation details and finish-care instructions rather than relying on appearance alone. One planning detail is easy to underestimate: the entryway’s everyday clutter. A nearby coat rack or shoe bench may interfere with the swing. Even careful measurements can miss that. Walk through the space with the door’s proposed width marked on the floor before ordering.
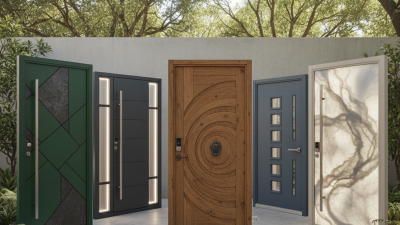
Compare typical insulation values to find a door that suits your climate and energy needs.
Insulated steel and fiberglass doors commonly offer R-values around 5–6, while solid wood doors are often around 2–3. These are approximate ranges; glazing, construction, and the complete door assembly affect performance. When planning your budget, also account for weatherstripping, frame condition, and professional installation.
When comparing steel entry doors, look beyond the painted surface. The steel skins, internal frame, and core work together. A thicker skin can resist dents better, but the stated steel thickness matters more than a gauge number alone. Gauge conventions can confuse buyers. Ask for the actual specification.
The core affects insulation, weight, and sound control. Polyurethane foam usually provides strong insulation in a relatively thin door. Polystyrene can cost less, though its performance depends on thickness and fit. Mineral wool may offer useful sound and heat resistance, but the complete door assembly still determines results. Feel the difference. A rigid door with uneven edges may still leak air.
Check how the skins meet at the edges and whether the lock area has reinforcement. A thermal break can reduce heat transfer through the steel, especially in climates with large temperature swings. Inspect the frame and weatherstripping too; even a well-built slab performs poorly if installation leaves gaps. Finish damage deserves attention, since exposed steel can corrode when moisture persists. I would not choose by insulation claims alone. Compare documented values, construction details, and the conditions at your entrance, then inspect the installed door after its first season.
Security, energy efficiency, and weather resistance depend on the whole installation, not just the steel slab. Look for a reinforced frame, a secure deadbolt pocket, and long hinge screws anchored into framing. A thick-looking door can still disappoint if the frame flexes or the latch barely catches. Check the NFRC label for U-factor; lower values indicate less heat transfer. The U.S. Department of Energy’s Energy Saver guidance estimates that air leaks can waste 10–20% of a home’s heating and cooling energy. That figure covers the home, not doors alone, but it shows why a tight seal matters.
Weather resistance is easiest to judge at the threshold and corners. Choose continuous compression weatherstripping, a well-fitted sweep, and an adjustable threshold that meets the sill without scraping. Small gaps matter. If possible, inspect the door after installation on a windy or rainy day; feel around the frame for drafts and check the sill for water. A protective finish helps resist corrosion, but chipped paint near the bottom edge can expose steel to moisture. Repairing that spot early is easy to overlook.
Before buying, compare the complete door assembly’s insulation and air-leakage ratings, not just its advertised core material. Ask how the frame will be sealed and fastened to the wall. Even a high-performing door can leak through a poorly insulated rough opening. That detail is easy to miss, and I would not treat a strong lock as proof of strong overall security.
How to Choose the Best Steel Entry Doors in 2026?
Choosing the Right Size, Style, Finish, and Hardware
A good fit starts with a tape measure, not a catalog. Measure the opening at the top, middle, and bottom, then check height and jamb depth. Older homes can have uneven frames; that detail is easy to miss. Confirm the door swing, threshold height, and whether sidelights affect the opening before ordering. A precise fit helps limit drafts and keeps the latch aligned.
Choose a style that suits the home’s proportions and lets in the amount of light you want. For energy performance, compare NFRC-certified labels and review the whole door assembly, including glazing and weatherstripping. Finish matters, too: a dark surface in strong sun may need more frequent care. The 2024 Cost vs. Value report by Zonda estimated a 188.1% cost recoup for steel door replacement in its project averages. That figure is not a guaranteed return; local costs and resale conditions vary.
Tips: Test the handle and deadbolt before committing. Pick hardware that feels solid in your hand, and check that its finish works with the hinges. Ask the installer to explain the warranty and how the frame will be sealed. One small regret? People sometimes choose a dramatic glass panel, then realize it faces a busy walkway. Consider privacy at different times of day.
| Decision Area | Common Options or Measurements | How to Choose | Important Checks |
|---|---|---|---|
| Door Size | Common U.S. nominal slab sizes include 30, 32, and 36 inches wide by 80 inches high. Other sizes are available. | Measure the existing slab, frame, and rough opening before selecting a replacement. Choose a size that fits the opening and provides comfortable everyday access. | Nominal slab dimensions are not the same as the required rough-opening dimensions. Confirm the door unit’s installation instructions and local accessibility requirements. |
| Door Configuration | Single door; single door with sidelights; or a double-door arrangement. | Consider the available wall space, entryway layout, natural-light needs, and how much clear passage width you want. | Measure the full opening, including space needed for the frame, sidelights, trim, and door swing. |
| Style and Glazing | Flush, paneled, or glazed designs; glass may be clear, textured, or decorative. | Match the design to the home’s architecture. Choose glazing when daylight or visibility is important; consider textured glass when you want more privacy. | Check the glazing’s safety rating where required, its privacy level, and whether the door assembly has the performance ratings you need. |
| Steel Construction | Steel doors commonly use formed steel skins over an insulated core. Skin thickness and core construction vary by product. | Compare complete door-unit specifications rather than relying on a single thickness figure. Consider insulation, rigidity, and the intended exposure. | Ask for documented performance details, including applicable thermal, wind, and impact ratings. A steel skin alone does not determine overall security or energy performance. |
| Finish and Color | Factory-primed, factory-painted, or paintable surfaces; colors range from neutrals to darker shades. | Choose a finish suited to the home’s exterior and the amount of sun and weather the entry receives. Follow the manufacturer’s instructions for repainting. | Check whether the finish is intended for exterior use, which cleaners are suitable, and how often inspection or touch-up may be needed. |
| Weather Protection | Perimeter weatherstripping, a threshold, and a door sweep help limit drafts and water entry. | Look for a well-fitted, adjustable system and ensure the threshold works with the floor height and drainage conditions. | Proper installation and an even gap around the door are essential. Inspect seals periodically for compression, damage, or gaps. |
| Hardware | Lever or knob, deadbolt, hinges, and optional smart-lock hardware. | Select hardware compatible with the door’s bore holes, backset, thickness, and handing. Choose a finish that coordinates with the exterior. | Confirm lock and latch compatibility before ordering. Follow installation instructions and local egress rules; smart locks also need suitable power and connectivity. |
| Swing and Handing | Inswing or outswing; left-hand or right-hand configurations depend on the unit and viewing convention. | Check the entry layout, nearby walls, steps, furniture, and weather exposure before choosing the swing direction. | Confirm handing with the supplier using its specific definition. Make sure the open door will not obstruct a walkway or required exit path. |
| Installation and Warranty | Prehung door unit or slab-only replacement; warranty coverage varies by product and installation conditions. | Choose a prehung unit when replacing the frame, or a compatible slab when the existing frame is sound and correctly sized. | Review installation requirements, maintenance instructions, and warranty exclusions. Correct flashing, fastening, and sealing are important for long-term performance. |
Measurement note: Sizes and installation requirements vary by product and region. Verify the actual opening and the manufacturer’s specifications before ordering.
When comparing steel entry doors, check the exact model and configuration on its certification documents. The ANSI/WDMA/CSA 101/I.S.2/A440 standard covers performance testing for doors and related products. For glazed doors, an NFRC label can help verify rated energy performance. Match the label to the glass package you are buying; a different pane can change the rating. Small detail. It matters.
Warranty language deserves a slow read. Check coverage for rust, paint, hardware, glass, and the frame, plus exclusions for coastal exposure or poor maintenance. Ask whether labor is covered, and for how long. The Remodeling 2024 Cost vs. Value report estimated a 188.1% cost recoup for steel entry-door replacement. That is a modeled national average, not a promise of resale value. I would still treat it cautiously: a strong product warranty may not cover faulty installation.
Inspect the installer’s written scope before work begins. It should specify flashing, sill sealing, shimming, fasteners, and how the frame will be squared. During installation, look for even gaps and a latch that closes without force. Request photos of concealed flashing before trim goes on. A certified door can still leak if its opening is prepared poorly. Ask who handles callbacks, and get that answer in writing.